
 Remember this post where I said making boxwood wreaths is fun and easy?
I wasn’t telling the WHOLE truth. Making boxwood wreaths is fun but it isn’t always easy. The wreath I showed then was a makeshift one, put together quickly and placed where no one will touch it until time to throw it out. And that wreath-although it will dry nicely- cannot be used another year, because it was just loosely wired into place and has no real stamina.
I felt guilty acting all craftsy without telling and showing you how to make a boxwood wreath the more formal and accurate way.
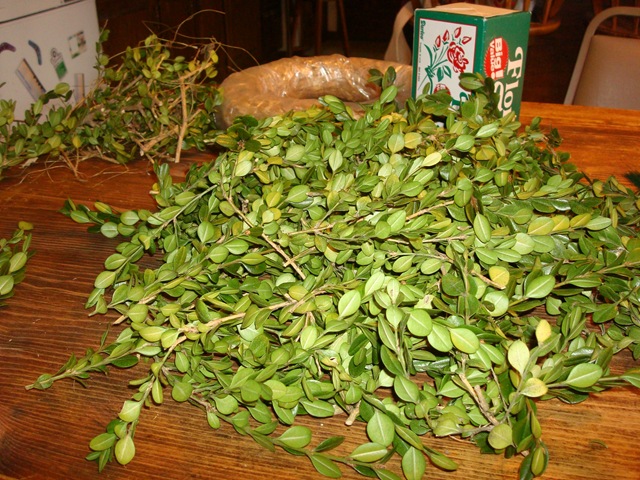
I am using the boxwood we cut in Chincoteague. I left it outside and it has been cool enough that it hasn’t dried out yet.
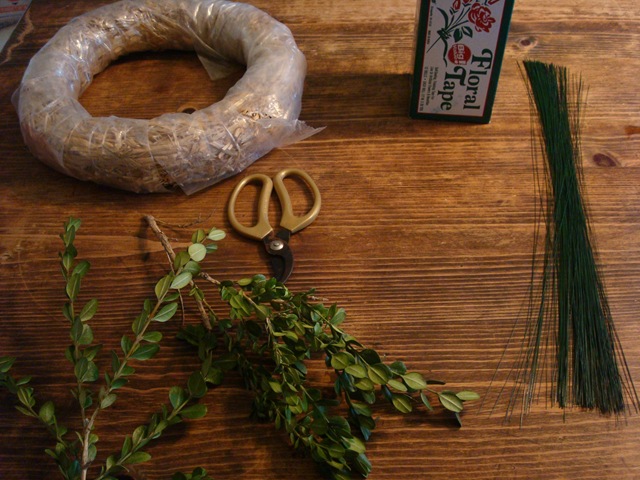
You will need a pair of wire/plant shears, thin gauge wire, a wreath frame, green ribbon and about 2 1/2 hours to complete this wreath.

Don’t quit yet. Put on some Christmas music, brew yourself a cup of tea and create a little Christmas beauty and cheer.
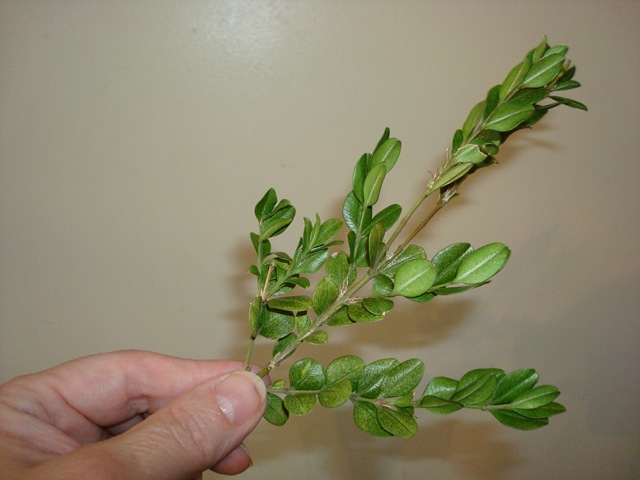 Cut your boxwood into small pieces with several branches -making a lot of tips.
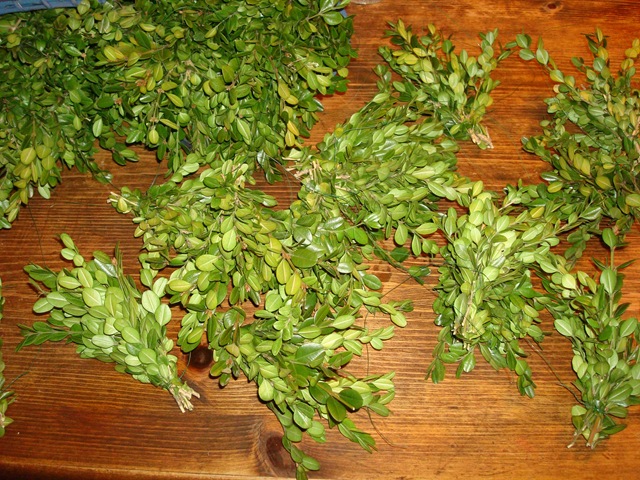
 You will need a LOT of tips, cut to about 6 inches long.

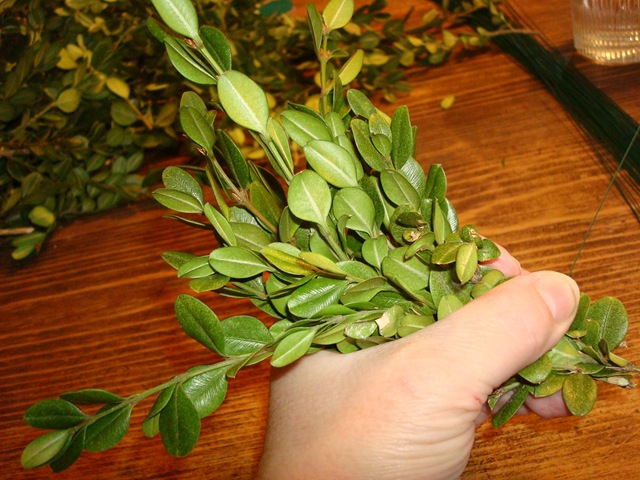 Gather them together, arranging them by size and direction, rather like a bouquet- face the fronts of the leaves to the front so that they match.
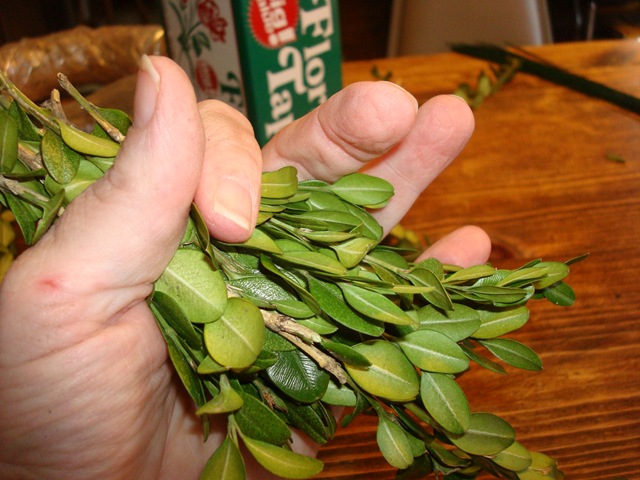 Then close your palm around them and hold them tight,
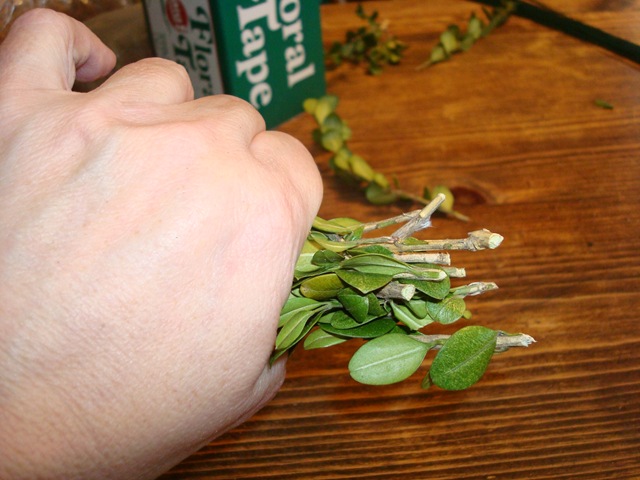

So that you can wire them into a tight little bundle.
You will need many bundles. Only use enough wire to hold them together and twist it tightly, because you need a long wire left over to go around the wreath form.(about 8-10 inches long)
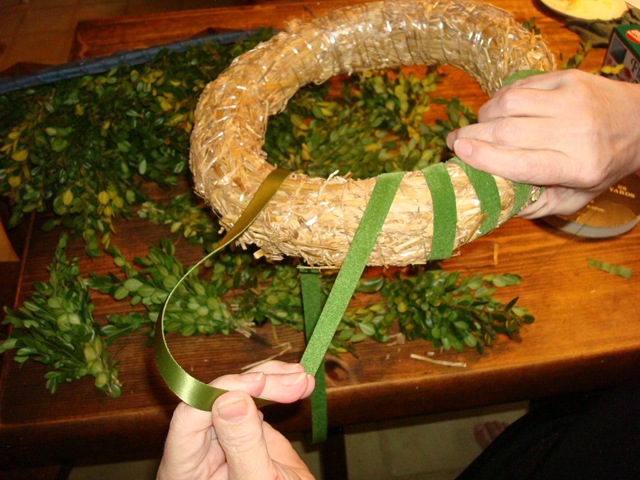
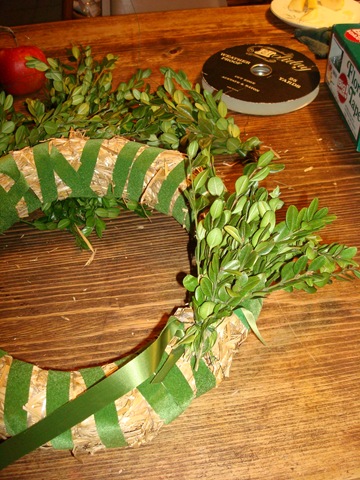
 I used a straw form that I’ve had for too many years to count. But you could use grapevine or a wire form. Take off the plastic wrapping and wrap the wreath with ribbon. It helps to hold the wreath together and makes it easier to handle.
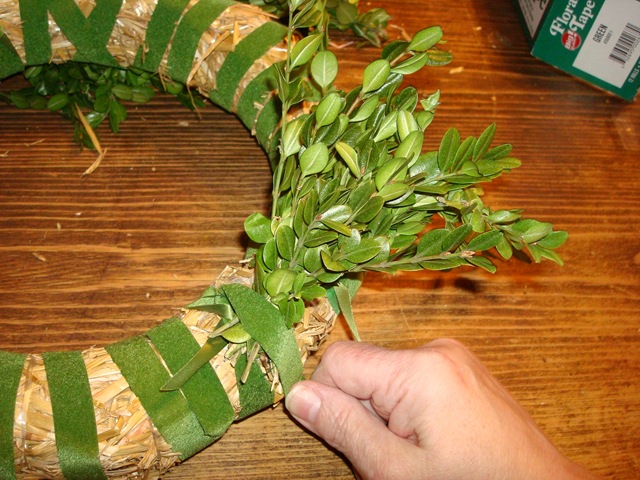
 Then, start to wire your boxwood bundles onto the wreath-
 and wrap the ribbon securely over the wired end, locking it into place.
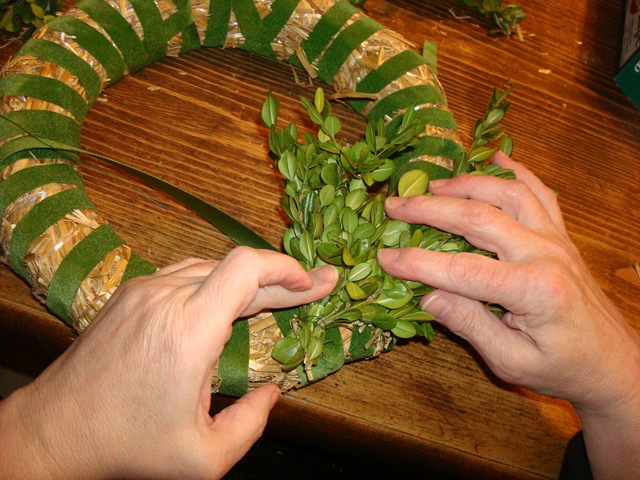 Add the next bundle next to the first, wire it into place and wrap with ribbon again.
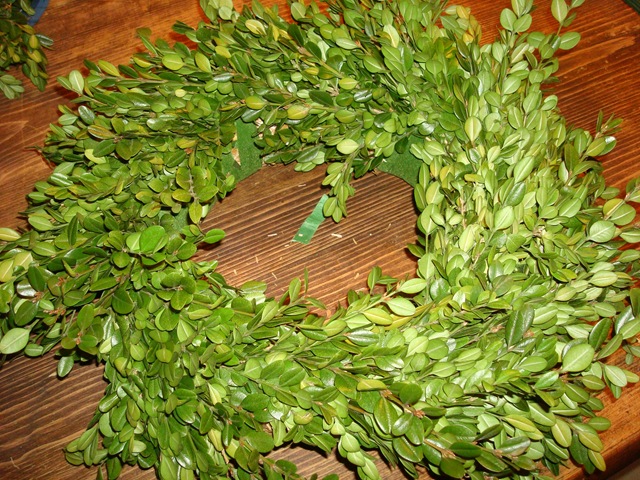
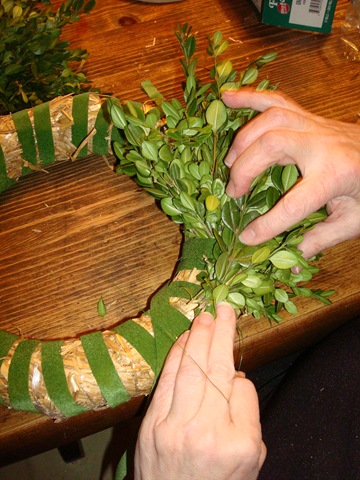 Keep adding more bundles, filling in the space and covering all the bases with ribbon.
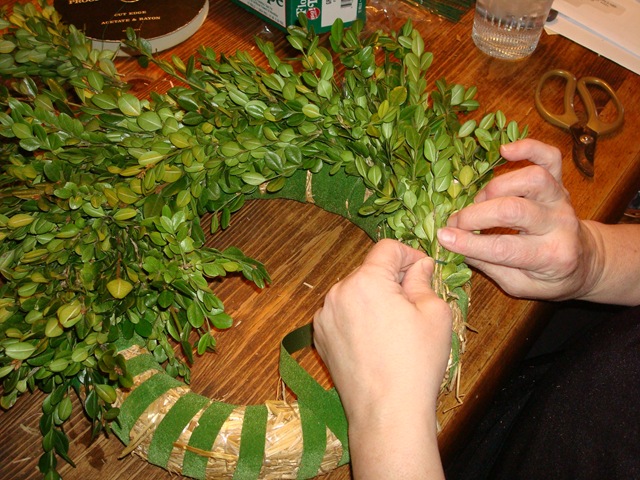
You need to cinch the ribbon tightly so that it gives the bundles and the wreath added support.
This goes a lot faster than it sounds. Most of the time spent making the wreath is put into cutting and making the bundles of boxwood.
 Don’t worry about covering the back side- the nice thing about wreaths is that you are not going to see the back when it is on display.

Now, add a big bow and hang it up in a prominent place.
Because YOU made it!
 FYI- no animals or insects were hurt in the making of this tutorial. I found a cocoon on one of the stems and took it outside and gently put it into the protection of an arborvitae tree.
This wreath will dry perfectly and if packed carefully can be used for several years to come.
We have THIS tree/bush outside. I use it for greenery in flower arrangements, but I never thought of making a wreath out of it! I also didn’t know that it was called boxwood. Here they call it “mirto”. Thanks for the lessons!
Beautiful! I hope mine will look as nice as yours.
That is just beautiful Heidi!