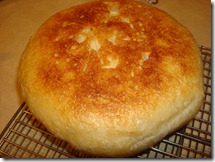
Pumpkin puree

I love pumpkin.

Love the beauty of shape, color and form.

003

Although not all pumpkins look like Cinderella’s coach-
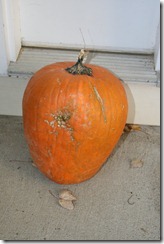
 

001-some look like her step sisters. 

These pumpkins were both given to me- the small one above was thin skinned and didn’t

have much flesh.  It may have been good for carving- but not much else.

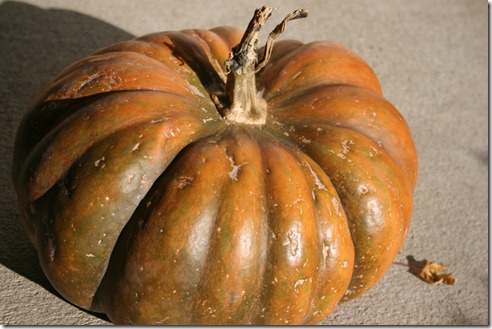
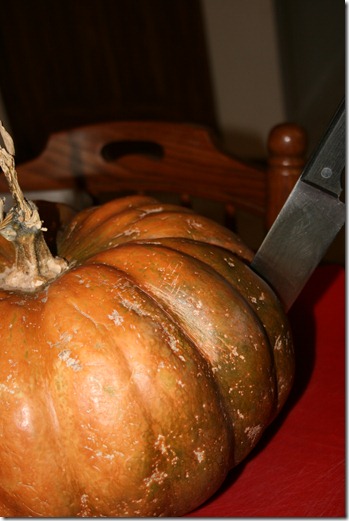
But the queen pumpkin at the top was a gift from my friend, Jane , who grew these

lovely heirloom pumpkins and gave me one.

I was tempted to keep it over Thanksgiving and use it for a table decoration-

004006008

but after taking a few pictures I moved on to other ideas.

010

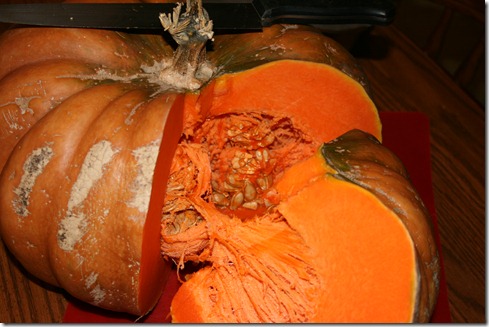
And I got out the knife.

011

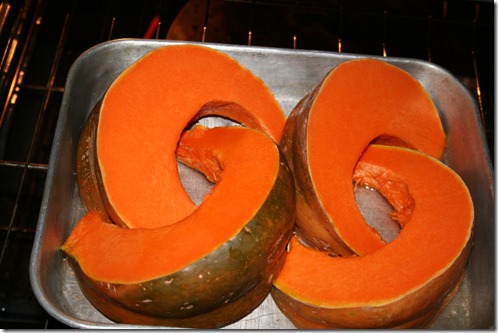
It was hard to cut- and so huge I could only fit one quarter of it in my roasting pan at a time.

013

014

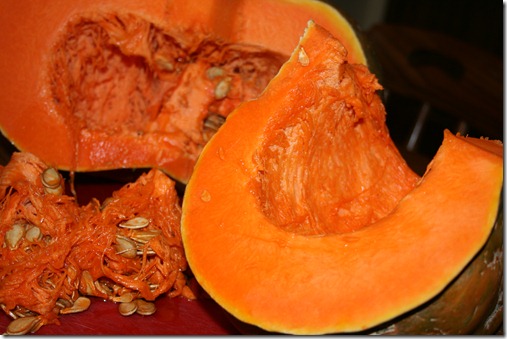
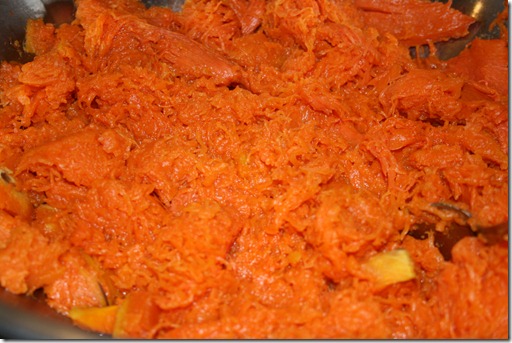
It took me all afternoon- but I got it all roasted- and scraped into a bowl.

015

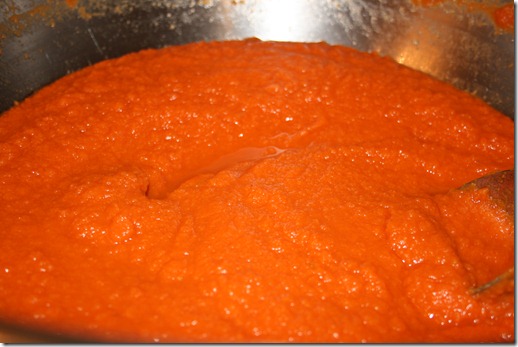
Then I got out my immersion blender and got to work.

016

After about 10 minutes I ended up with this beautiful puree.

017018

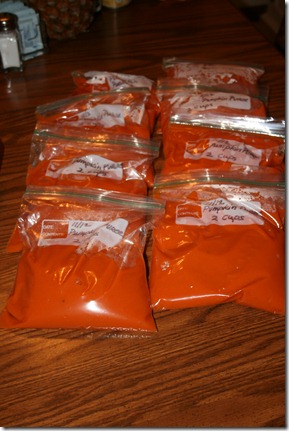
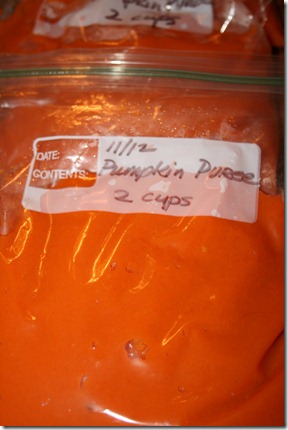
Which amounted to about 16+ cups of pumpkin puree.

I froze most of it for future use- but today I’m making a pumpkin pie and maybe some pumpkin

bread- because I have home made puree and I intend to celebrate with it!

UPDATE-UPDATE- UPDATE—

021

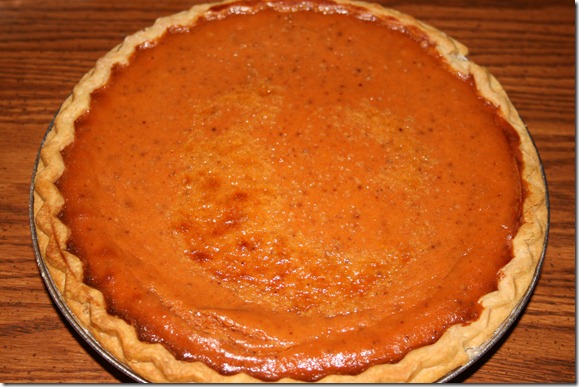
Here’s my pumpkin pie!  OH my – it smells so good and looks so custardy!
Growing and eating Brussels sprouts…

Growing them is considerably harder than eating them.

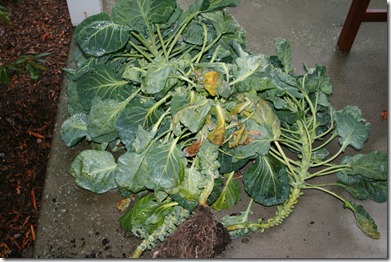
I planted Brussels sprouts in mid Spring.  It is now late

Autumn and they were still very tiny- my sprouts.

001

But my husband was done with gardening and just wanted to clean

out the area.  So I had to harvest what was there.

And this…

003

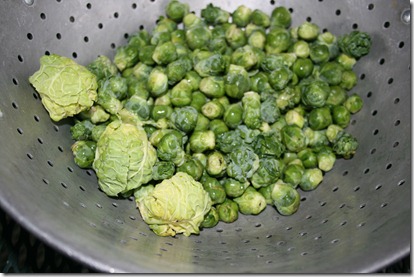
is what was there.  Very small sprouts.

006

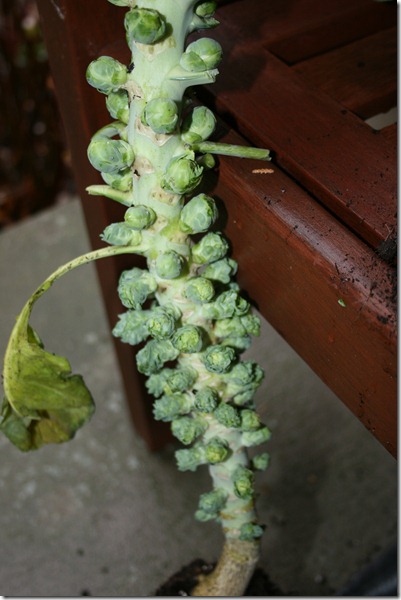
Very, very small sprouts.  The three large ones were at the top of the

plants and perhaps should not even have gotten into the mix.

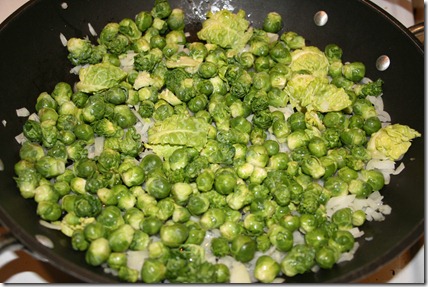
But I wanted Brussels sprouts that I had grown- so I picked all the tiny ones.

007

And cooked them with onions and garlic in butter.

008

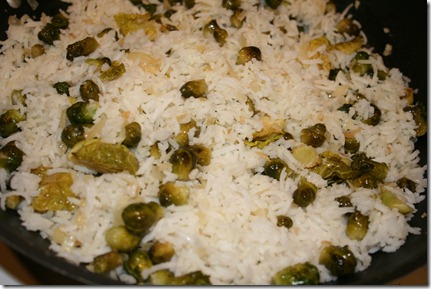
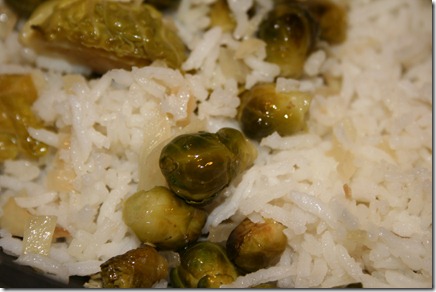
Then mixed them with Basmati rice.

009

They were very mild.  This is the first time Frank has ever liked Brussels

sprouts-  I was kind of disappointed- but – I DID grow them and he DID

eat them- so that was a success?  Right?

Baby Brussels sprouts with Basmati rice- another try for a meatless meal.

In My Kitchen- November

I know- I’m late with this post.

I had intended being in Chincoteague (Pronounced

“Sheen- Ko- teeg” in case you were wondering!)

a lot earlier and do a post from here.  So- I waited-

but it is a good week late-sorry.

In my kitchen…

011

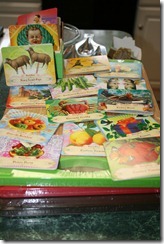
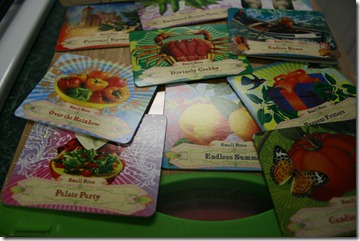
is this mini recipe box from my niece, Elizabeth.

012013

The recipes are for appetizers and the pictures are Victorian and so cute.

The recipes all look great, too- I’m planning on making them up for a Christmas Tea!

In my kitchen…

014

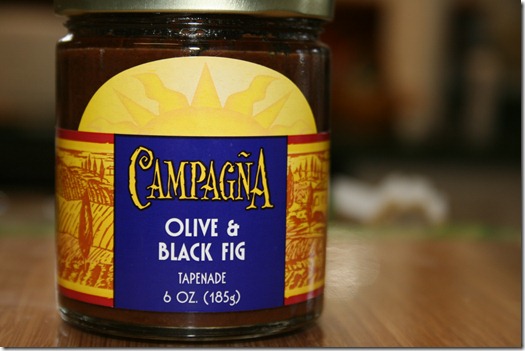
This delicious tapenade- mmm- smeared on top of a crusty piece of fresh baked bread!

In my kitchen…

015

…are these wonderful flavor boost packets!  I love them- you don’t need a whole can of broth-

just one of these packets and it infuses your dish with just the right amount of flavor.  They are

a little bit salty- but I like salty!

In my kitchen…

016

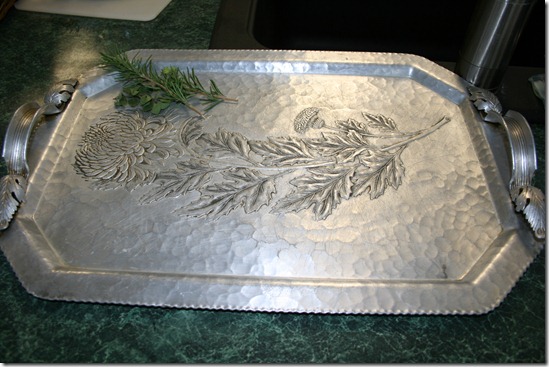
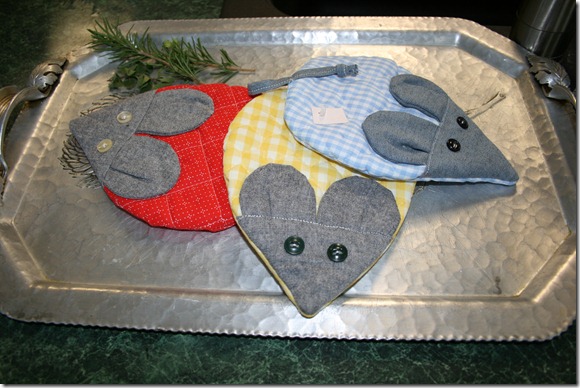
..is this beautiful hammered aluminum tray.  I collect aluminum ware- and I really like the

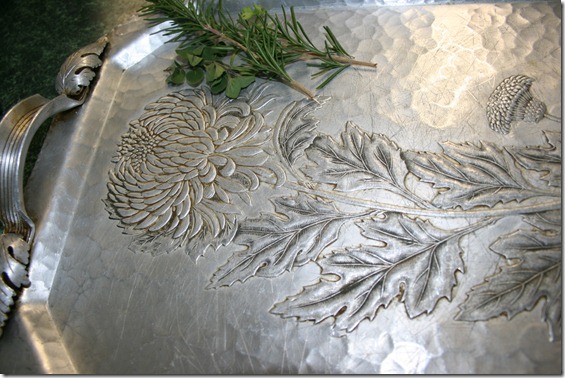
chrysanthemum decoration on this one.

017

And look at the detail on the handles.  This tray just makes me smile.

018

We are getting the house ready for the holidays- and look at these adorable little mice hot pad holders!

I wish I could use a sewing machine- I would make up a whole bunch of these little guys!

In my kitchen…

019

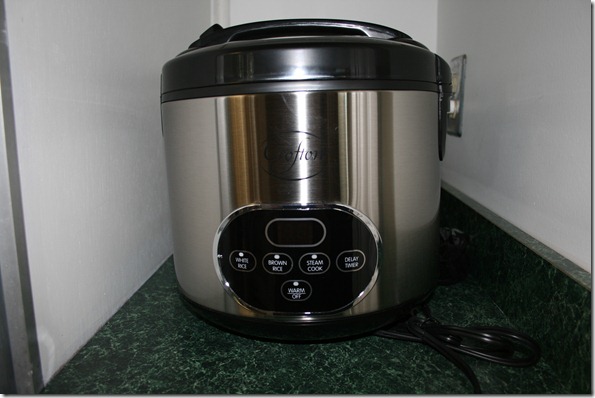
is a new rice cooker- bought at a great price at Aldi’s.  I seem to go through rice cookers- I’ve had two

in the last  12 years.  All I generally use them for is rice- and that shouldn’t be too hard on them.

In my kitchen…

024

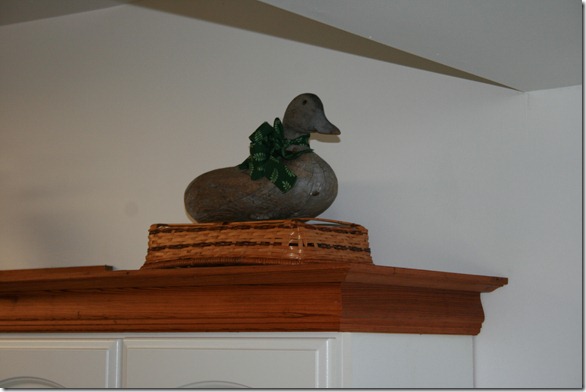
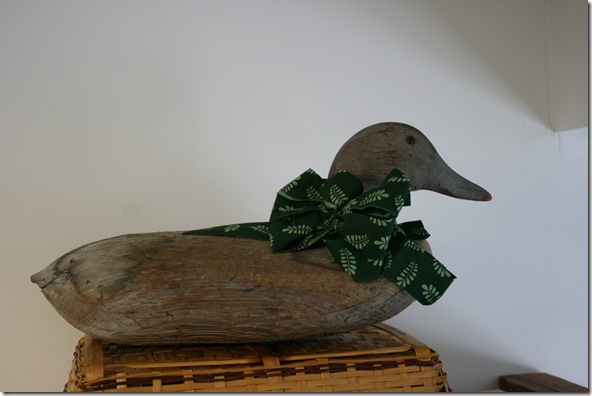
Is this duck decoy with a Christmas bow for the holidays.

026

It’s a real decoy that we found at a garage sale this summer.  I love the rough finish on it- and it looks

great up on top of the cupboard!

In my kitchen…

029

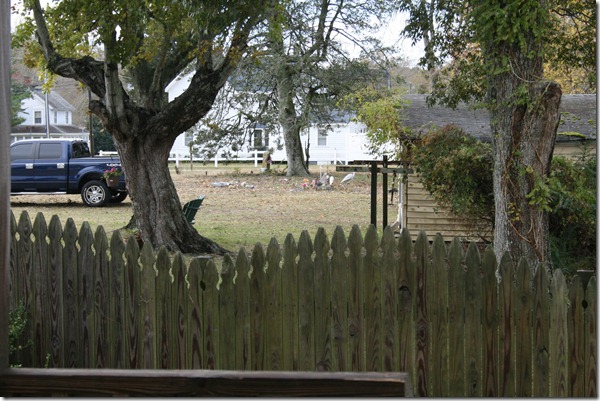
Or rather outside the window, is a small graveyard- a family graveyard right beyond the back fence.

I like the history of graveyards- and the family reference they afford.

And they make very quiet neighbors!

And right outside my kitchen door..

031

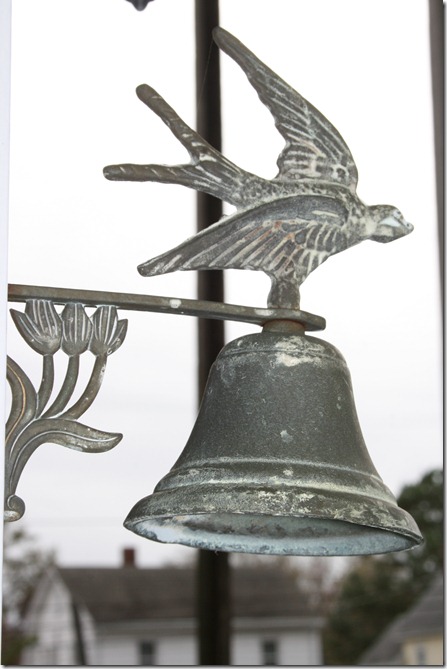
is this brass bell, covered with verdigris.  I love the detail!

Well that’s it for this month- enjoy a whole plethora of kitchens around the world

by going to Celia’s blog Fig Jam and Lime Cordial  and check them out!

A bread shaping tutorial–bread bears- for Celia and all my bread friends!

Honey whole wheat dough in bowl
This is a batch of bread- it makes 4 large /bread bears, 15 small bears, or 2 very large loaves! YUM!

Honey Whole Wheat Bread ( for bears and otherwise)
Ingredients:
5 cups whole wheat flour
2-2 1/2 cups bread flour
1 cup milk (scalded)
1/4 cup margarine
1/4 cup honey
1/2 -3/4 cup hot water (105-115 degrees F)
2 TBSP yeast
2 TBSP sugar
1 TBSP salt
Method:
Mix yeast and hot water with about 1 tsp of the sugar and proof.(proofing is the MOST important step in making bread.  It activates the yeast and makes sure that your bread will raise.  After mixing , you give them time to work- wait about 5 minutes and watch for the yeast to grow.  It will form a foam on top and grow in volume.)
Stir flours, salt, and remaining sugar together in large bowl.
Melt margarine into scalded milk (scald in microwave- 90 seconds on HIGH), then stir in honey until everything is melted and melded.
Make a well in flour mixture and add milky mixture- stir lightly into flour so that the hot mixture is lumpy in flour and then add yeast mixture.  At this point you might need to add a little more water. I rinse the measuring cups out with hot water and pour the rinse water into the dough.  You want the dough to be soft and flexible- not hard and doughy.  Stir well- dough should be sticky- and dump contents of bowl onto floured surface.  Add flour to your hands, and knead dough adding flour as needed.  Knead dough for about 12 minutes- you can feel when the gluten starts to form- it will feel smooth and be cohesive.  (Kneading  is done with the palms of the hands – you push the dough towards the center of your ball,  fold dough over and push, making a quarter turn with each push.  You are forming a ball with the kneading movements.)
When your dough is smooth and feel satiny, place in a greased bowl – turn dough over so that the top of ball is buttered and cover and allow the dough to raise in a warm spot  away from drafts.  Allow to raise for about an hour- dough will be ready when it leaves an indent when you poke it with your forefinger.
I measure the dough out for bears:  8 oz. for the tummy…4 oz. for the head….about 1 oz. for each appendage, and about 2 oz to use for ears and snout. (see following pictures.)  I shape each piece into a tight ball by gently stretching the dough into a ball and pinching the back tightly.  Then I do it again, pulling it as tightly as I can without breaking the cloak or skin of the dough. Then place each piece next to the other in the shape of a teddy bear and grab a bamboo skewer and using the sharp pointy end press the balls together at the seams.  Form small balls for ears, place behind head and seam it with the skewer,  Then make a small oblong ball and put it in the lower center of face and seam it into place with skewer.  Make small indentations with skewer for eyes and nose and push currants or raisins in with the dull end of the skewer.  I always give my bears a belly button with the skewer. Just poke them in the tummy and twist/pull the skewer out.  Then let them raise for at least 45 minutes- up to an hour and 15 minutes – Preheat oven to 375 degrees and bake for about 35 to 45 minutes- until teddy bear brown.
Cool on wire racks.  Tummies should give a slightly hollow sound when you thump it  to see if they are done.  Thump gently!

Creating a gluten cloak
Scientific term for shaping the dough into cohesive balls that will form the base of each bear. Without the gluten cloak the dough sags and raises into a formless mass- not a bear!

Still forming the cloak
It takes a while to get the cloak to form – you have to pull tight and pinch at least 3 times.

Final stretch
Final stretch
This is the last step to the cloak- pushing the entire ball through the index finger and thumb, you create the tension that holds the dough in place. Now just pinch the back together tightly and you have created a bear belly. Do the same for the head and arms and legs- add tiny balls for ears and snout and. use the skewer to attach them by pressing them together with the edge and sliding across the attachment spot.

Voila- bread bears ready to bake
These have been shaped and are ready to raise.

Ready for the oven!
Ready for the oven!
They need to raise about 45 minutes- to an hour- then they puff up and are ready to bake at 350 degrees for about 25 minutes.

Scenes on the Porch-close-up
bears and more bears

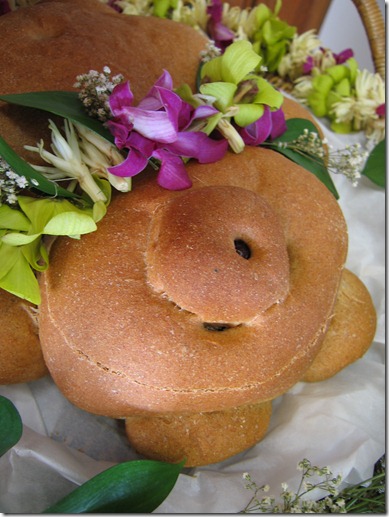
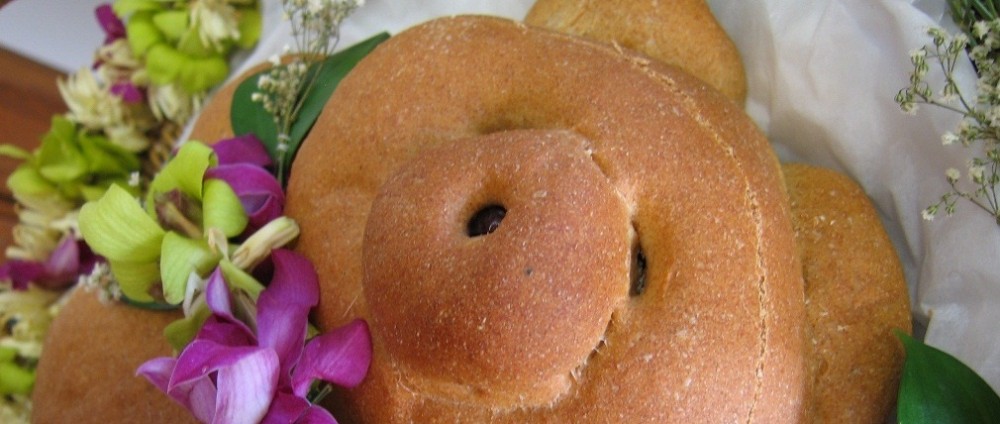
Aloha Bear bread

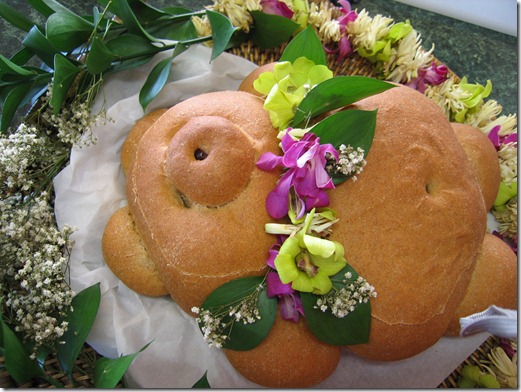
The picture currently up on the header is of a bread bear I made in

Oahu for Thanksgiving a couple of years ago.

IMG_8013

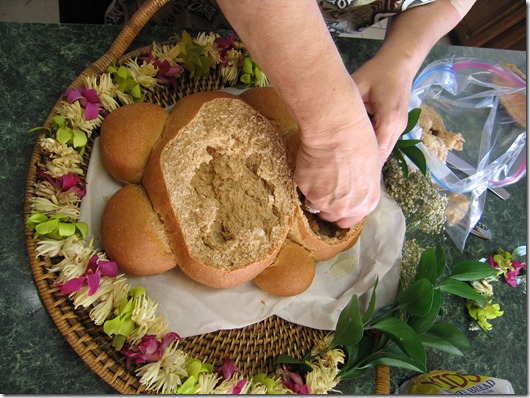
After I took this picture, I gutted him and filled the cavities with a spinach dip-

IMG_8016

and we ate him up as an appetizer before our Thanksgiving meal.

We had so many leis around the beach cottage ( with all the arrivals for the holidays) that

I thought we should make one up for the bread, as well.

IMG_8014

This picture on the header was one of several I tried to choose from to represent my blog.

blue birds and giveaways 007

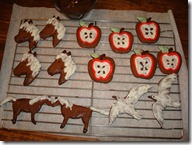
I was thinking of putting up some pictures of decorated cut out cookies-

Gingerbread ponies,apples, and gulls 001DSC01468

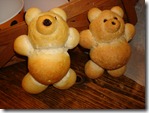
But the bread bears won out- because I love to make these bears!

Halloween bread bears 011Halloween bread bears 012

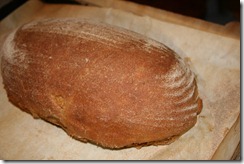
And I love to make and eat bread!

009DSC01365

And because wherever I am- there will be home made bread!

Although I may figure out how to actually change the header picture myself-

and then I will put up different – seasonal pictures.

I am better at baking bread than doing technical stuff, though- so don’t hold your breath!

Hurricane Sandy aftermath


This image by Patrick J. Hendrickson, an aerial photographer, shows the Assateague beach on Wednesday morning. The road to the right of the image is the

access road to the popular beach. Parking lots and the traffic circle are gone, and the beach itself looks narrower. The inlet at the bottom of the image

was created by Hurricane Sandy.

It is hard to imagine what the force of a hurricane can do.

The Eastern coast has taken quite a beating this last week.  New Jersey and New York were hit very hard- because they are so highly populated.

But here, on the eastern coast of Virginia, where there aren’t as many people the hit was significant.  Topography of the beach has been changed.


The ponies found higher ground and what can be seen of the herds seem to be in good shape.


The access road out to the beach was undermined and torn up.

There is much damage- but these are just pictures of what the storm did.

The people of Chincoteague Island, and the police and firemen and the coast guard are all still there- watching over the town, the ponies and helping

others  in this time of devastation. 

I’m going down there soon, to clean up the mess around my niece’s home. 

The electricity is back- and there isn’t any discernable damage to her home – but I just wanted to say how much I appreciate the human spirit and the

determination to go forward- even from disaster.  

photographs courtesy of Joanne Snyder Schoeberl  Photography.